What Is an A3 UV Flatbed Printer and How Does It Work?
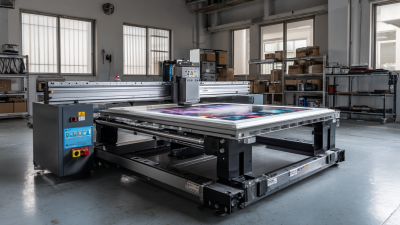
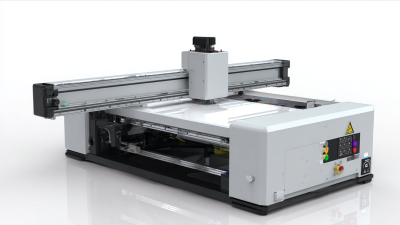
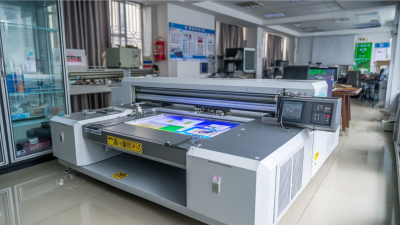
An A3 UV flatbed printer is a compact digital machine for printing directly onto rigid and flexible materials. The name refers to the A3 paper size, roughly 297 by 420 millimeters. However, actual printable areas vary by model. Always check the manufacturer’s specifications.
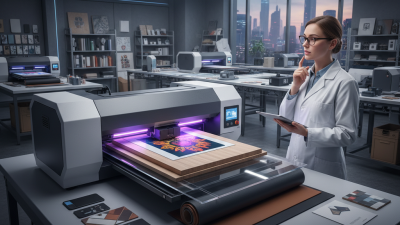
A Uv Flatbed Printer A3 uses UV-curable ink, a flat print platform, and ultraviolet lamps. The operator places a sheet, panel, phone case, or small product on the bed. The printhead moves across the surface and releases controlled ink droplets. UV light cures each layer almost immediately. The process is direct. There is no traditional plate or transfer film.
This technology can produce sharp text, detailed graphics, and white ink effects on dark materials. Some machines also support varnish, which adds gloss or texture. Acrylic, coated metal, wood, glass, leather, and certain plastics may be suitable. Material testing remains essential. Results vary.
In practical use, surface preparation affects adhesion, color, and durability. Dust, oil, uneven height, or excessive ink can reduce quality. A trained operator checks nozzle condition, bed alignment, curing strength, and color settings before production. These steps reflect common workshop experience, not marketing claims alone.
It is tempting to describe UV flatbed printing as effortless. That assumption is too simple. Ink compatibility, material thickness, ventilation, and regular maintenance still matter. This guide explains how an A3 UV flatbed printer works and where its capabilities may stop.
A3 UV Flatbed Printers: 297 × 420 mm Media Capacity and Core Uses
What Is an A3 UV Flatbed Printer and How Does It Work?
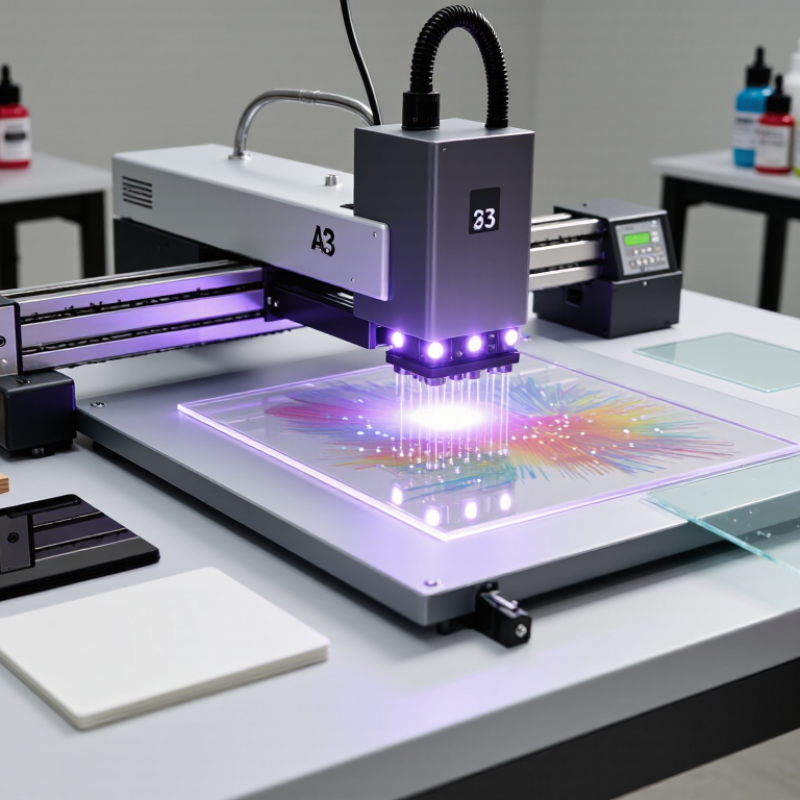
An A3 UV flatbed printer handles media up to 297 × 420 mm, the standard A3 footprint. It prints directly onto rigid sheets and selected flexible materials. A flat platform keeps each piece steady during printing. UV-curable ink is deposited through printheads, then hardened immediately by ultraviolet lamps. This creates sharp text, solid color, and detailed graphics without a long drying stage. The result suits short runs and customized work.
Common uses include signs, packaging mockups, desk plates, invitations, labels, and decorative panels. Its size fits small studios, schools, workshops, and in-house production teams.
Operators can print on coated board, acrylic, wood, metal, glass, and other compatible surfaces. Material testing remains essential because texture, coating, and heat sensitivity affect adhesion.
A glossy sample may look excellent, yet edges can still fail after handling. That detail is easy to overlook.
Tips:
Measure the printable area, not only the sheet size. Leave a safe margin for clamps, registration, and image placement. Clean the surface before loading it. Run a small adhesion test first. Keep artwork in the required color mode and resolution. I would also record ink settings for each material, although this step feels slow. Those notes often prevent repeated waste and inconsistent results. Ventilation and routine maintenance support dependable operation. Always confirm media specifications before production.
UV LED Curing at 395 nm: How Instant Ink Solidification Works
What Is an A3 UV Flatbed Printer and How Does It Work?
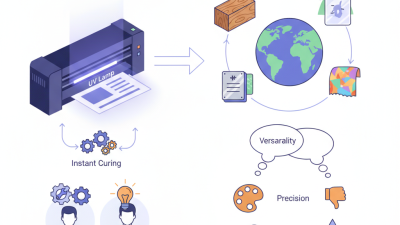
An A3 UV flatbed printer deposits liquid ink directly onto a rigid or flexible surface. Its print area commonly supports media near A3 size, while a flat platform keeps the material stable. The important process happens beneath the printhead. UV LED lamps emit light at approximately 395 nm, activating photoinitiators inside the ink.
These photoinitiators react quickly with the UV energy. They trigger polymerization, changing liquid ink into a solid film almost immediately. The printer usually lays down ink and cures it in the same pass. I have found that this timing reduces smearing on coated boards, acrylic sheets, and prepared wood. The surface feels dry within seconds. It is not magic. Lamp distance, ink thickness, surface texture, and lamp intensity still affect adhesion.
A technician should check the substrate before production. Dust can create tiny gaps, while an uneven surface may produce soft edges or incomplete curing. Too much ink can also leave a raised, slightly tacky layer, even when the top looks solid. A simple rub test and close inspection under angled light can reveal problems. I still verify cure performance after printing, because an apparently perfect sample may change after handling. Results vary. That part deserves more testing than many operators expect.
CMYK, White, and Varnish Channels: Building Multilayer Print Effects
An A3 UV flatbed printer deposits ink directly onto rigid or flexible materials, then cures each layer with ultraviolet light. Its compact bed suits signs, phone cases, panels, and sample pieces. The printer moves the print head across the surface while controlled UV lamps harden the ink almost immediately.
The CMYK channels create the visible image through cyan, magenta, yellow, and black ink. White ink adds opacity, especially on dark, transparent, or colored substrates. It can sit beneath CMYK as an underbase, between color layers, or above them for raised highlights. Varnish adds gloss, texture, or selective contrast. A clear logo may shine beside a matte background, while repeated varnish passes can create a tactile pattern.
Layer order matters more than many beginners expect. On clear acrylic, I usually test white density before adjusting color saturation. Too little white makes colors look weak; too much can soften fine details. Varnish also needs careful control. Heavy coverage may pool around small letters or exaggerate surface flaws. A short test print reveals these problems early. I still recheck alignment after changing material thickness, because a tiny height difference can shift the image. Results depend on ink settings, curing strength, surface preparation, and material absorption. Even a reliable workflow sometimes needs correction.
What Is an A3 UV Flatbed Printer and How Does It Work?
A typical multilayer UV printing setup uses four color channels for CMYK, one white-ink channel, and one varnish channel. CMYK creates the image, white improves opacity on dark or transparent media, and varnish adds gloss or texture effects.
The six channels shown represent the common channel structure for producing color, white underlayers, and clear varnish effects in a multilayer UV print workflow. Actual printer configurations may vary.
From Artwork to Finished Product: The A3 UV Printing Workflow
An A3 UV flatbed printer creates images directly on rigid or flexible materials. Its print area is close to an A3 sheet, making it practical for signs, panels, phone cases, cards, and small product samples. The process starts with artwork prepared at the correct size and resolution. Transparent areas, white ink layers, and varnish effects must be planned before printing. A small mistake here can affect the entire surface.
The operator checks the material for dust, moisture, and uneven edges. The sheet is placed on the flatbed and held firmly by a vacuum or positioning guides. After selecting the material profile, the printer lays down color through tiny ink droplets. UV lamps cure each layer almost immediately. White ink can improve color strength on dark materials, while clear varnish can add texture or gloss. I usually print a small test swatch first, because screen colors can look different under workshop lighting. Even careful settings sometimes need adjustment.
Tips:
Keep the artwork file organized and name each layer clearly. Clean the print surface gently before loading it. Use test pieces when changing material, ink density, or curing power. Check small text at actual size; it may appear sharp on screen but lose detail in print. If edges look slightly blurred, inspect the material height and alignment before changing the artwork.