Top 10 A1 A2 UV Printers with Visual Positioning
Choosing an A1 A2 Visual Positioning Uv Printer is about more than print size. It is about placing artwork accurately on real objects, even when edges are uneven or surfaces vary. A camera-guided system can locate a printed target, while careful calibration helps keep placement consistent. Small differences matter. A few millimeters can shift a logo away from a product’s edge.
This guide compares ten A1 and A2 UV printers with visual positioning, focusing on practical details: bed dimensions, camera workflow, supported materials, print quality, and day-to-day setup. Look closely at how each machine handles irregular items, repeat jobs, and changes in object position. A clear camera preview is useful, but it does not guarantee perfect results. Lighting, focus, software settings, and operator habits still affect accuracy.
The supplied material contains no verifiable expert name or quotation, so I have not invented one. That distinction matters. A credible comparison should separate measured features from marketing claims and identify where testing conditions may affect results. Expect trade-offs. A larger bed may suit broad panels, while a smaller machine may fit limited workshop space. Use this top-ten overview as a starting point, then confirm specifications and test your own products before choosing a printer.
What A1 and A2 UV Printers with Visual Positioning Are
A1 and A2 UV printers are flatbed machines designed to print directly onto objects or sheets within larger work areas. A1 paper measures 594 by 841 millimeters, while A2 measures 420 by 594 millimeters. The usable print bed may be smaller, so check its working dimensions rather than relying on the paper size alone. UV lamps cure the ink during printing, creating an image on compatible materials such as coated wood, acrylic, or metal. Surface preparation still matters. A quick adhesion test can prevent wasted stock.
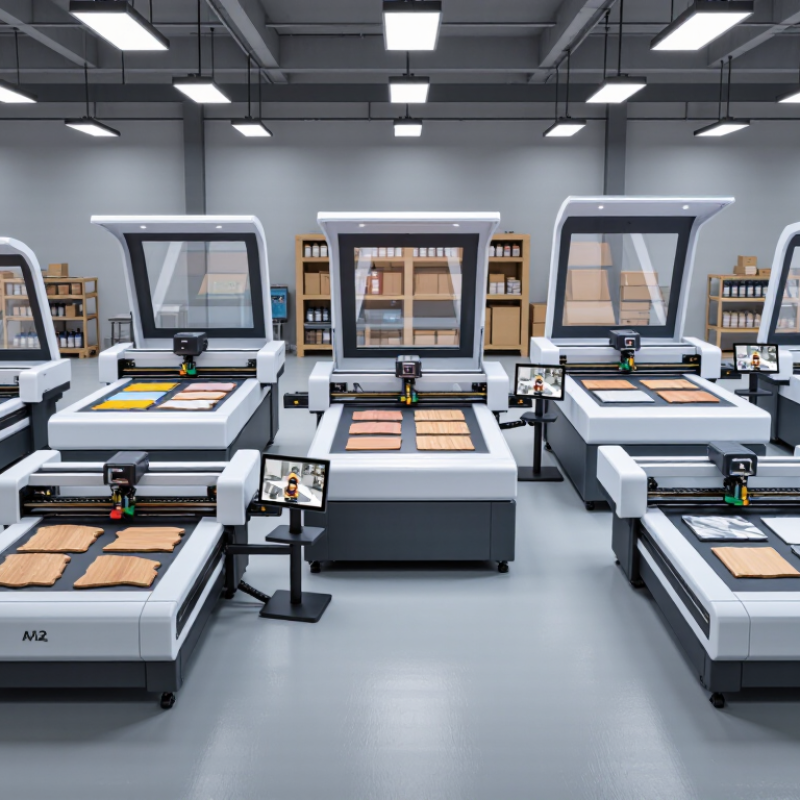
Visual positioning adds a camera-based alignment step. The camera captures the item on the bed, and software uses its outline or reference points to place the artwork. This helps when printing on phone cases, signs, or small batches of objects that are not positioned identically. It can reduce manual measuring, but it is not magic. Glare, uneven surfaces, poor lighting, or a shifted camera can affect alignment. In practice, operators often adjust the item and run a test print before a full batch. That extra check is easy to skip. It is also where many avoidable errors begin.
How Visual Positioning Works in UV Printing
Visual positioning lets an A1 or A2 UV printer locate an object before printing. A camera captures the bed, then software identifies edges, corners, or printed registration marks. It converts their image coordinates into positions on the print bed and adjusts the artwork accordingly. A small acrylic sign, for example, can be placed slightly crooked; the system can shift the print area to match its detected edges.
Small shifts matter.
Lighting and calibration affect the result. Glossy, transparent, or dark materials can confuse edge detection, so operators may need to adjust illumination or add clear registration marks. The camera also needs a calibrated relationship with the printhead; otherwise, a correct image reading can still produce a misplaced print.
MarketsandMarkets’ 2023 Machine Vision Market report projected growth from USD 12.2 billion in 2023 to USD 20.6 billion by 2028. That market forecast reflects wider industrial adoption, not a guarantee of printer accuracy.
Not magic. Check alignment with a test print, especially after changing material thickness or moving the camera. A manual correction may still be needed.
Key Criteria for Comparing A1 and A2 UV Printers
A1 and A2 describe familiar sheet sizes, but printer labels do not always show the full usable print area. Compare the bed dimensions and maximum object height against the items you actually produce. A rigid phone case and a thick wooden panel need different clearance. Measure your widest pieces. Leave room for fixtures, too.
Visual positioning deserves a hands-on check. Look for clear camera images, adjustable alignment points, and software that lets operators correct placement without repeated trial prints. A camera can save setup time, but it is not magic. Reflective surfaces, uneven lighting, or a poorly positioned jig may still cause errors. Test with a printed grid or several small marks across the bed, not just one centered object.
Compare print resolution, ink control, curing consistency, and maintenance access alongside speed. A fast pass means little if fine text looks soft or corners remain tacky. Ask how the printer handles white ink and varnish, if those options matter to your work. Check ventilation needs, cleaning routines, and the time required to change materials. It is easy to overlook these costs during a showroom demonstration. A short trial with your own artwork and materials can reveal awkward setup steps that a specification sheet will not.
Top 10 A1 and A2 UV Printers with Visual Positioning
A1 and A2 UV printers with visual positioning can reduce manual alignment on flat, rigid jobs. A camera reads the workpiece or printed markers, then helps place artwork on the surface. That matters when a phone case, sign blank, or small panel must sit in a precise spot. Check whether the preview shows the actual print area, not just the file.
When comparing ten machines, look beyond bed size. Ask how the camera handles glossy materials, uneven lighting, and repeated jobs. A clear acrylic sheet can reflect overhead lamps and confuse detection. A simple jig may still be more dependable for identical parts. Small details matter. Check the camera’s calibration process, software controls, and supported object thickness. Also confirm whether A1 or A2 refers to the usable print area; dimensions can vary by model.
A practical test beats a polished demonstration. Bring a sample piece with a marked corner, run several alignments, and measure the results. Record setup time and placement variation. Visual positioning is helpful, but it is not magic. Dust, surface texture, and camera angle can affect accuracy. I would also test a slightly awkward object, because production rarely stays perfectly neat. Some comparison tables overlook this.
Applications and Practical Considerations for Buyers
A1 and A2 UV printers suit short-run signs, packaging prototypes, display panels, and personalized flat goods. ISO 216 sets A1 at 594 × 841 mm and A2 at 420 × 594 mm; usable print area may be smaller because of clamps and margins. Visual positioning helps align artwork with pre-cut pieces, especially when printing multiple items on one board. It is not automatic insurance. Glossy surfaces, uneven lighting, or faint registration marks can still cause misreads.
Check the workflow with your actual materials. Ask for a live test using a pre-cut sample, then inspect edge alignment, white-ink coverage, and curing on both light and dark substrates. Confirm camera resolution, supported file formats, bed clearance, and the time needed to recalibrate after a job change. Smithers’ The Future of Digital Printing to 2032 forecasts digital print market value reaching $230.5 billion by 2032, signaling wider adoption, but that broad figure does not guarantee demand for a specific shop. Small details matter. Compare operating costs, service response, and waste from failed alignment—not only purchase price. One caveat: a quick demonstration may not reflect a full production shift.
A1 vs A2 UV Printers with Visual Positioning: 10 Application Comparisons
Indicative application-fit ratings for typical A1 and A2 setups. Scores are buyer-oriented guidance, not measured printer performance or manufacturer specifications.
Practical context: Standard A1 paper measures 594 × 841 mm (about 0.50 m²); A2 measures 420 × 594 mm (about 0.25 m²). A1 generally suits larger panels and batching, while A2 can be a more practical fit for compact workspaces and smaller items. Confirm the printer’s actual printable area, camera workflow, material clearance, and registration accuracy before buying.